Photo composition rules
You can find list of ten tips everywhere on the web and I was trying to create my own. However I only came up with 7 points and I would like to share them with you. These are rules which I learned when I started reading about photography in order to take better photos.
1. Strong points aka points of interest.
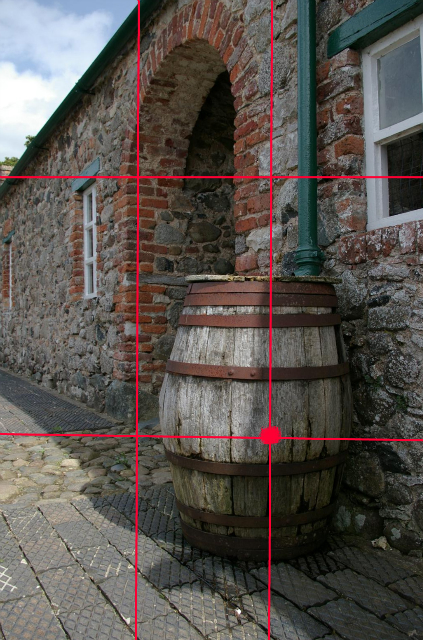
These are points within a picture frame to which your attention is “drawn”. They can be represented in 2 ways. First, which I learned as the first, was by drawing imaginary net of 2 vertical and 2 horizontal lines over the frame of a picture that divides a pictures into 9 equal rectangular (see below):
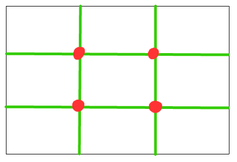
This show the points which are the best place (not strictly in that spot or spots but somewhere around them) to place a main subject of your photo in. And by that I don’t necessarily mean a one single object you picture on some plain background but also for example something you want focus the attention of viewers on (i.e. eyes of a model).
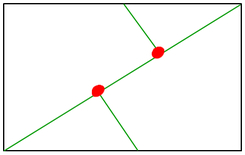
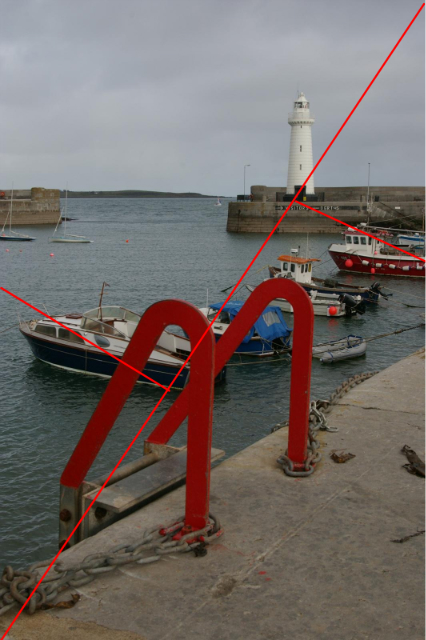
The other way I learned recently showing the strong points is created by a diagonal line joining two furthest corners of your picture and right-angled triangles placed on that line. See below:
2. Rule of thirds
Let’s go back to the previous point about strong points and borrow the first net we used but remove those 4 points:
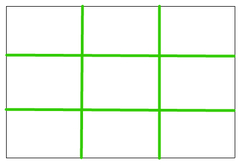
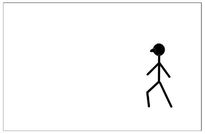
Now we have a picture divided into thirds. It’s usually better for a photo to feel more balanced when you place your object or lenght of your object along one of these lines. For example: a standing or walking person, horizon, wall of a building.
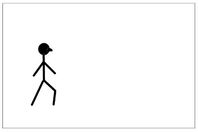
Please also be aware if you take a photo of a person that placing the person along the first vertical line have different implications than placing it along the second one.
Here goes an example:
|
|
On the first picture (left) it seems like the stickman is GOING TO somewhere while on the second one the stickman is COMING BACK from somewhere. See what I mean? Even if that wasn’t so you still get this impression when you place your person on the particular side of the picture. This effect is probably caused by the fact that we read from left to right and it would be quite opposite for people coming for instance form Arabic countries, where they read from right to left.
Anyway it’s worth keeping that in mind.
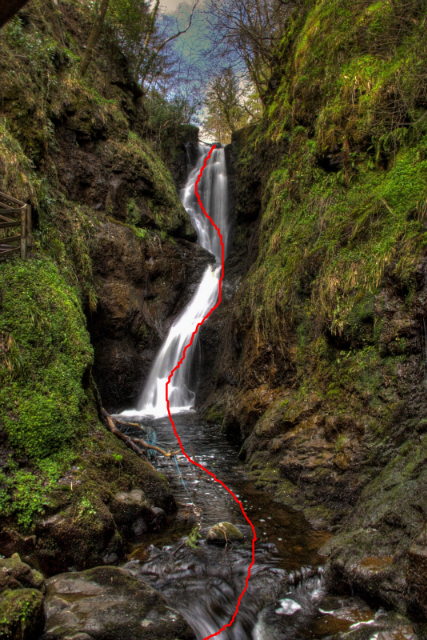
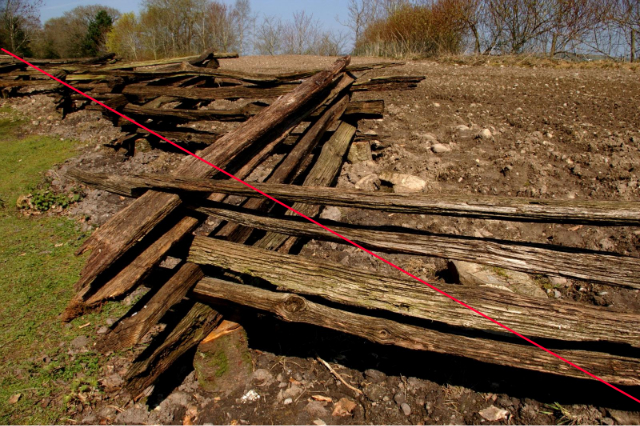
3. Diagonal and S-lines.
While vertical or horizontal lines or vertically or horizontally shaped objects are better to be placed along or around lines we talked about in point 2, some other lines can be used in composing a picture. Vertical and horizontal lines are usually static, quiet and tranquil and if you want to show more dynamic, more movement you could try and compose your picture along diagonal lines. And rather not the one that splits a picture into to equal right-angled triangles but somewhere in between (rule of thirds with diagonal lines?).
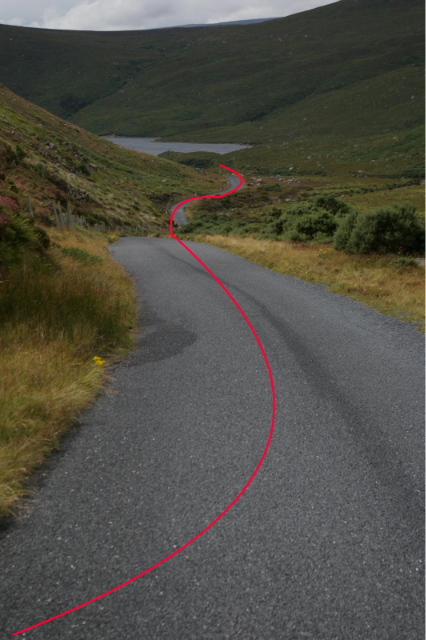
S-lines are great for landscapes. They also make a peaceful impression but look great showing a ribbon of river, road or footpath.
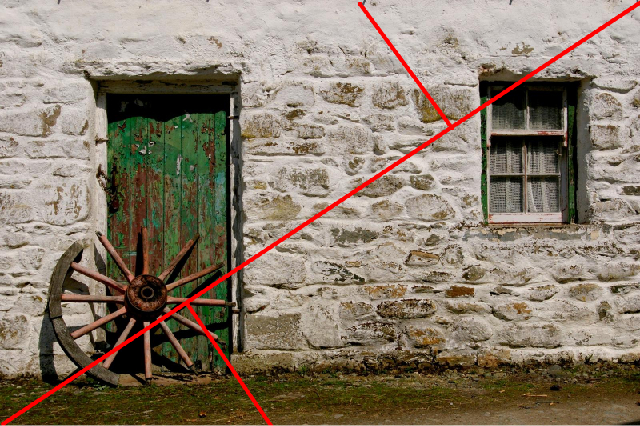
4. Natural frames.
You can use “frames” available on the location of your picture. They could be branches of trees framing a subject of your photo from 2, 33, or 4 sides, , architectural arches, gates, actual door or window frames and so on.
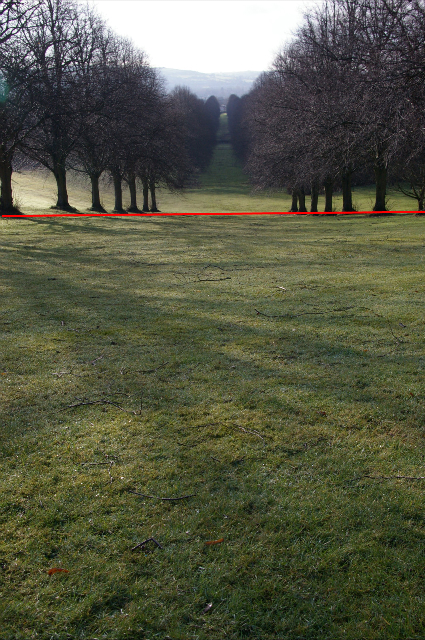
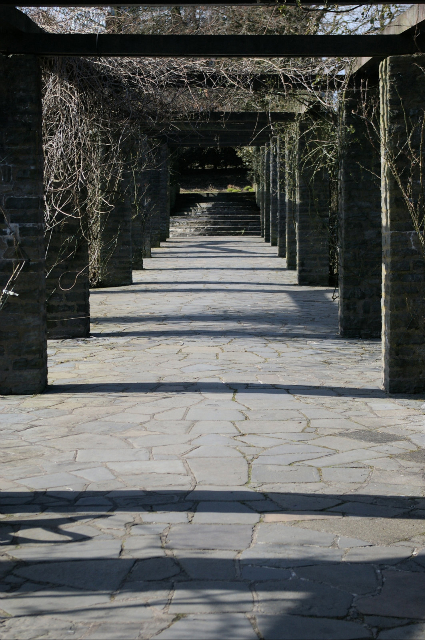
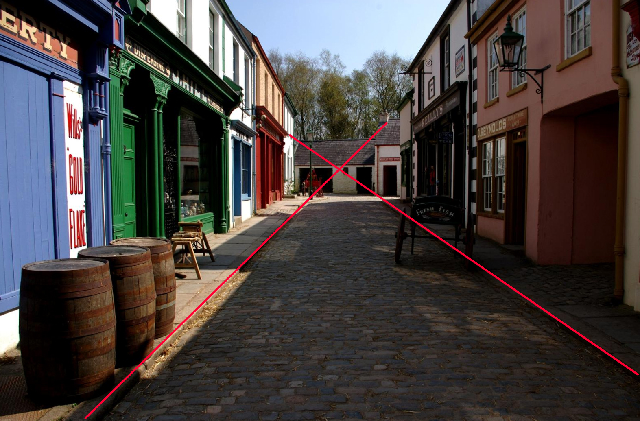
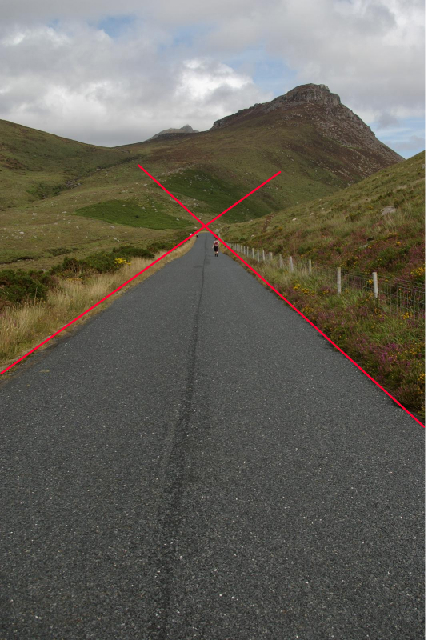
5. Symmetry, lines of perspective and vanishing point.
Sometimes an object or objects look better, more natural if they are shown in a symmetric way. I think it could most commonly used in architecture, abstract forms or groups of objects but also in nature I.e. showing rows of trees. If such objects are shown in symmetric way, you can usually observe lines of perspective. These are lines that lead your attention from first plan of a picture towards the centre. Take your eyes into the picture so to speak . Lines of perspective meet at so called vanishing point which is usually an imabinary point not appearing in a picture. The lines make for instance a road, river or walls of building look like they are to meet together at the far end.
6. One or two main objects - don’t clutter.
In my opinion this is the most common mistake in photos. Clutter. By this I mean a photo looking at which is hard to define the main subject or sometimes when the object is obvious there are elements within your view that take your attention away from the subject, are not necessary, seem out of place or destroy the composition.
Sometimes when you see some interesting scene you want to photograph which is cluttered you can still take a good photo by exposing or highlighting your main subject. You can do it for instance by using small depth of field that will make your object look sharp among blurred surroundings (still applying the rule of thirds and strong points). You could also make the object stand out if it happens to be of different colour or shape (again points of interest still apply).
7. Break the rules
Yes. That's correct. But it doesn't mean you have wasted your time learning those above rules. Because what I mean by this is breaking the rules in conscious sort of way. Creative way. If you don't know the rules you can't really claim that this is the way you take photos. I don't think it would work. In my opinion you need to know what rules you are breaking.
I met a few people who probably never heard of any of these rules but their photos could be used as illustrative examples of how to apply them. I think three is something universal in good composition of a picture and some people can do it without naming it and their photos look just "right".There are loads of tips and tricks out there about how to make better photos that will repeat the above rules or add some more. I don't claim my guide is the only and truly correct one it's just a wee compendium of what I've learned, what I remember and what I apply while taking my photos. Thanks for reading and I hope you'll find it worth your while.
__________________________________________________________________________________________
__________________________________________________________________________________________
And now you can have a look at a few examples because one says: one picture is worth thousand words :-)

Points of interests or strong points.
Main objects on your photos don't have to be exactly on spot where the strong points are, just place them somewhere around.
Photo on the left has small depth of field that helps to focus attention on the corner of a suitcase.
Click on pictures to make them bigger.
Main objects on your photos don't have to be exactly on spot where the strong points are, just place them somewhere around.
Photo on the left has small depth of field that helps to focus attention on the corner of a suitcase.
Click on pictures to make them bigger.
|
|
|
________________________________________________________________________________
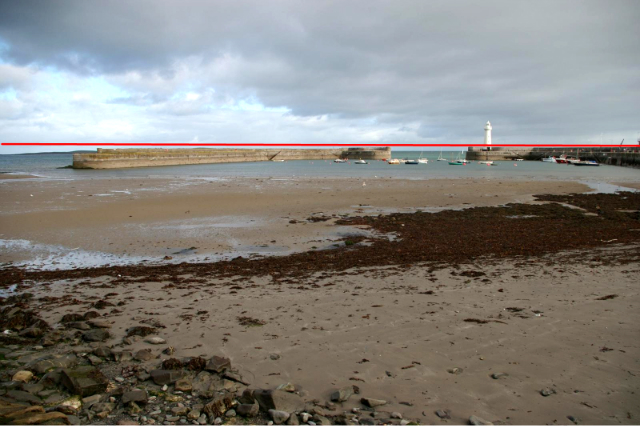
Rule of thirds
Below you can see examples. It's ususally better to move horizon to first or second third of photo rather than place it in the middle.
Rule of thirds
Below you can see examples. It's ususally better to move horizon to first or second third of photo rather than place it in the middle.
|
|
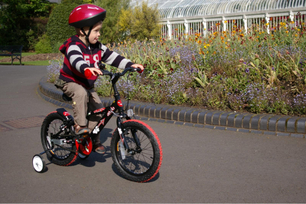
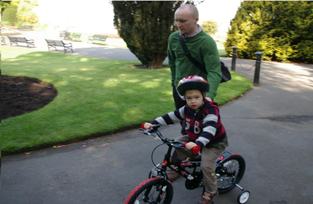
And this is the "going to" and "coming back" effect I mentioned earlier. Persons pictured in below photos weren't going to or coming from anywhere but were wandering aimlessly :-) :
|
|
______________________________________________________
Diagonal and S-lines
Looking at below 2 pairs of photos don't you think that the one built over a diagonal line look more interesting if not dynamic?
Diagonal and S-lines
Looking at below 2 pairs of photos don't you think that the one built over a diagonal line look more interesting if not dynamic?


|


|
And some S-lines and diagonal in landscape:
|
|
|
_______________________________________________________________________________
Natural frames
Natural frames

________________________________________________________________________________
Symmetry, lines of perspective, vanishing point
Symmetry, lines of perspective, vanishing point
|
|
|
© Copyright Photography on a budget 2011-2012 - All Rights Reserved
