DIY flash and umbrella holder
This is my DIY photo project to make a combined flash and umbrella mount for my standard camera tripod. Since I took more interest in portrait shoots I was trying to come up with an idea how to mount my flash and umbrella on a tripod and usually was using some gaffer tape and big clamps. I finally did some researches on the internet looking for an inspiration and decided to built a "proper" holder myself. This is a step-by step guide how to do it.
Ingredients for my recipe are as follows:
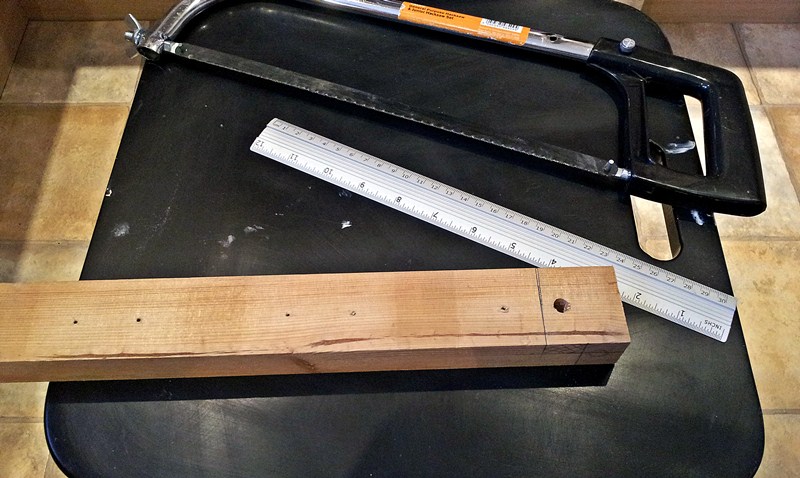
- some wood (I had a piece of old, I believe, wooden bed frame),
- a saw,
- a drill and drill bits,
- glue (not just any glue - go for a proper 2 part epoxy),
- sand paper,
- a screw nut and bolt (same parameters as the one used on a standard tripod).
Ingredients for my recipe are as follows:
- some wood (I had a piece of old, I believe, wooden bed frame),
- a saw,
- a drill and drill bits,
- glue (not just any glue - go for a proper 2 part epoxy),
- sand paper,
- a screw nut and bolt (same parameters as the one used on a standard tripod).
A word of warning regarding these screws and bolts I mentioned above: if you live in U.S. you are lucky because they sell standard size bolts that are exactly the same as on tripods. If you - like me - live in U.K. is not easy to get them. Bolts on tripods (and screw holes on the bottom of cameras) are size 1/4 UNC, which is standard used in States. I bought "exactly" the same size which apparently are equivalent to 1/4 UNC at local DIY store and they didn't fit at all. Apparently although the same in size and number of threads the bolts have threads cut under different angle by a few degrees. So I had to order them on Ebay.
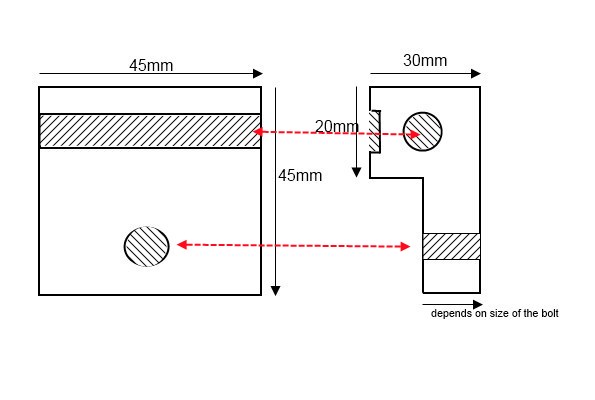
This a scheme of the holder. Shaded parts indicate where the wooden block was drilled through/cut in. Note that this measurements are not an exact science and there is a lot of room for changes.
All below images are click-able.
|
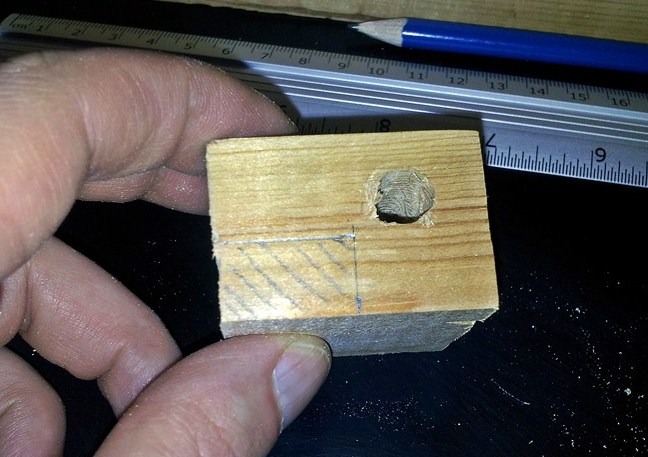
First take a wooden plank/block, measure it to size and drill through the wholes. Start with a smaller drill bit to avoid going off the line. The first hole is 45mm long and should have a diameter slightly bigger than your umbrella shaft - this will be the one the umbrella goes through.
The second hole is about 15-20mm long (depending on the bolt's length) and its diameter should allow the bolt to go through. (I drilled prior to cutting the block to size to make it easier to hold while drilling.) _____________________________________ |
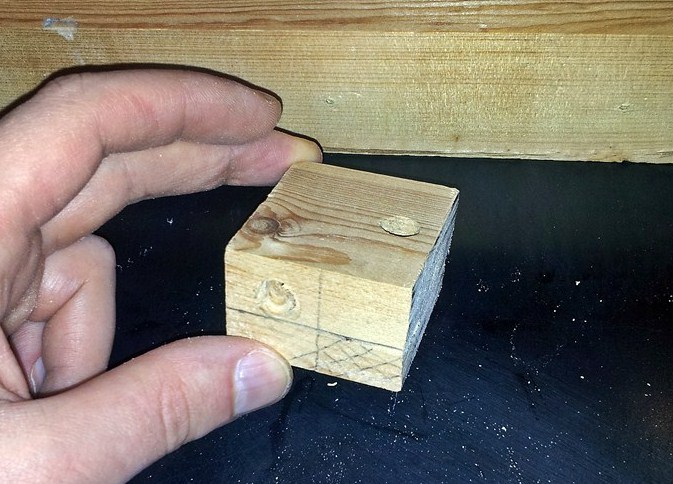
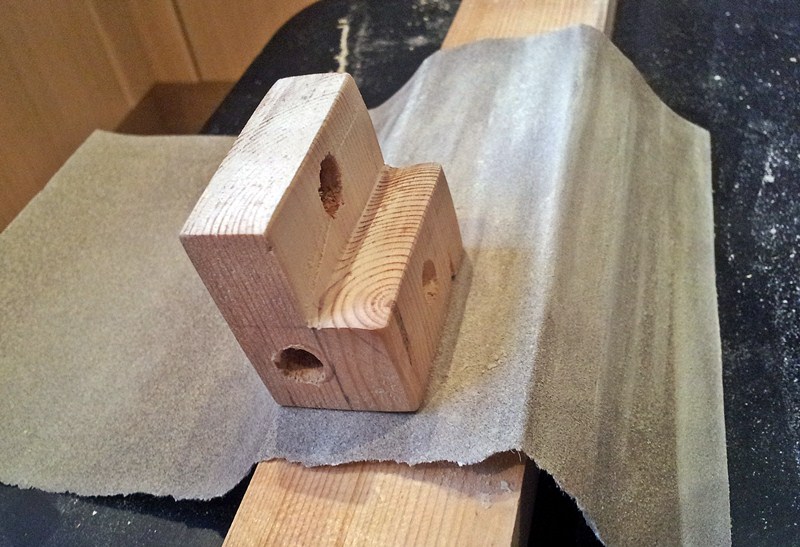
The drilled through and sawn off block should look like this.
_____________________________________ 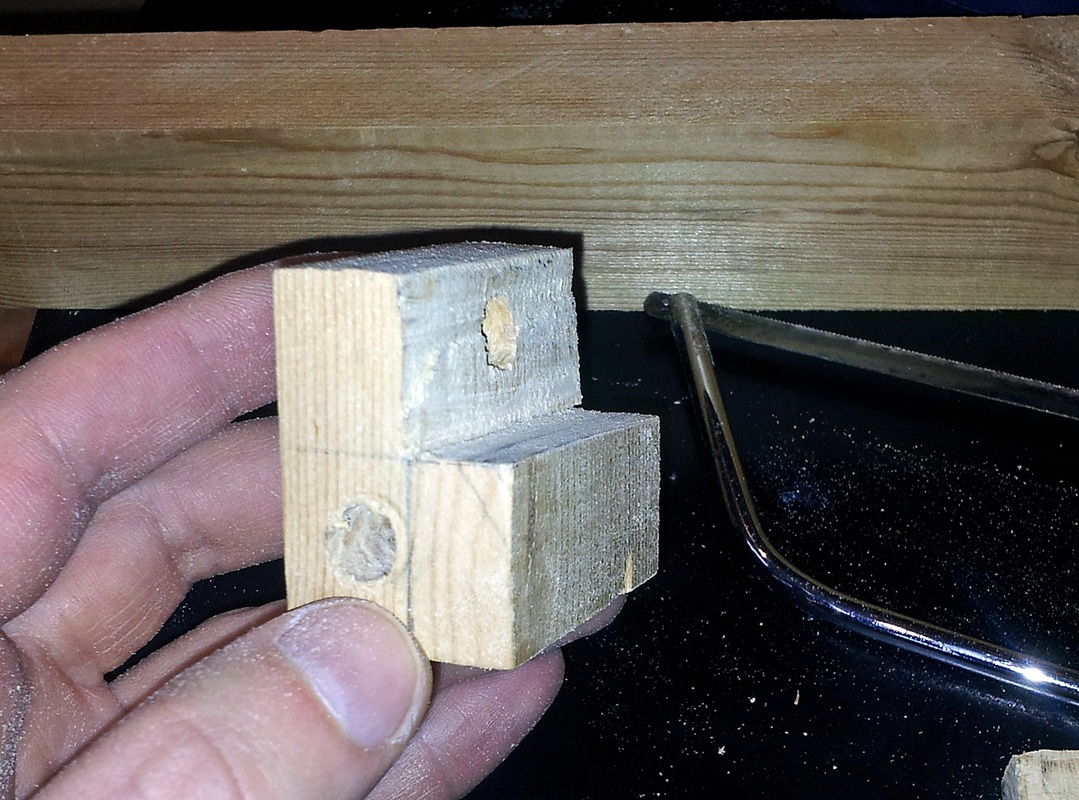
That's how it looks when shaped as required for this project.
_____________________________________ 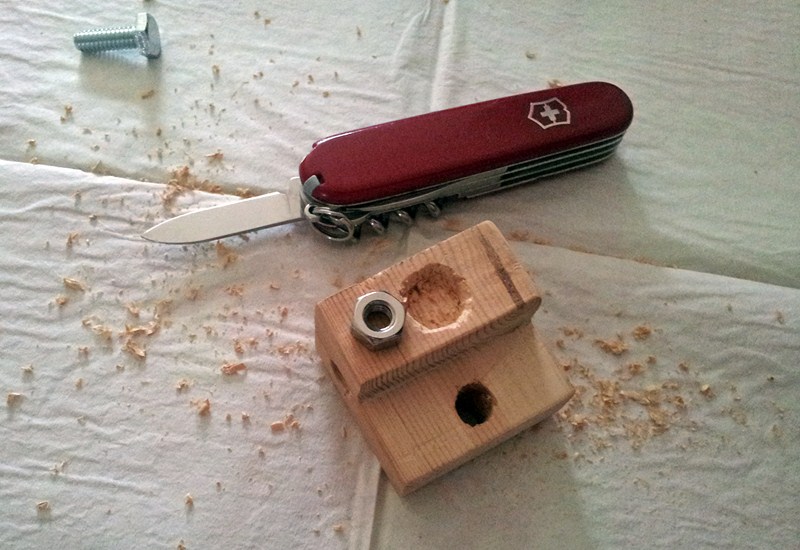
There are probably better tools than a knife to curve a hole where the nut will be glued in. This nut will be used to screw this holder to a tripod (in the same way as you would mount you camera).
_____________________________________ 
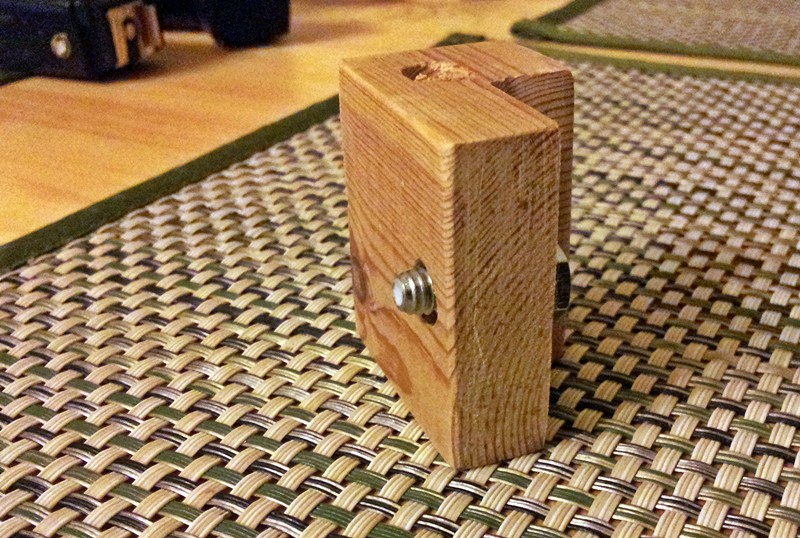
Almost ready final product - bottom view.
_____________________________________ 
|
The next step was marking with a pencil the bit that would be sawn off in order to make an L-shape out of this.
_____________________________________ 
I used sand paper to smooth it up a bit.
_____________________________________ 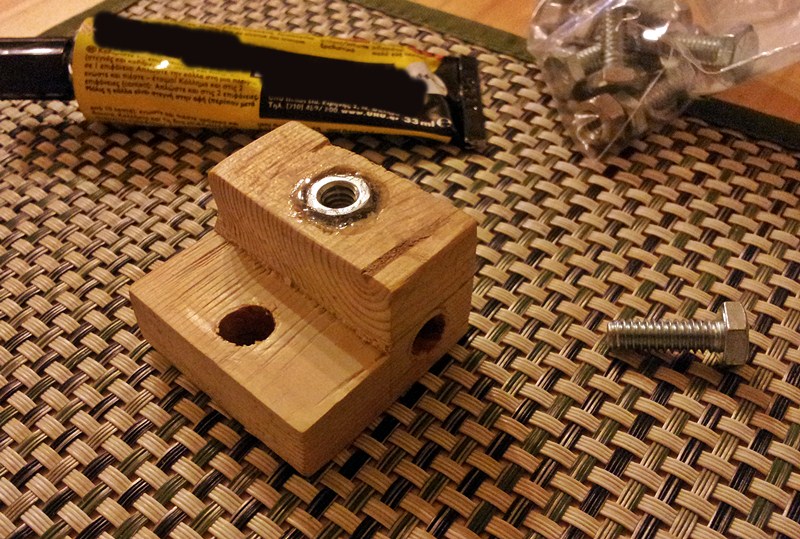
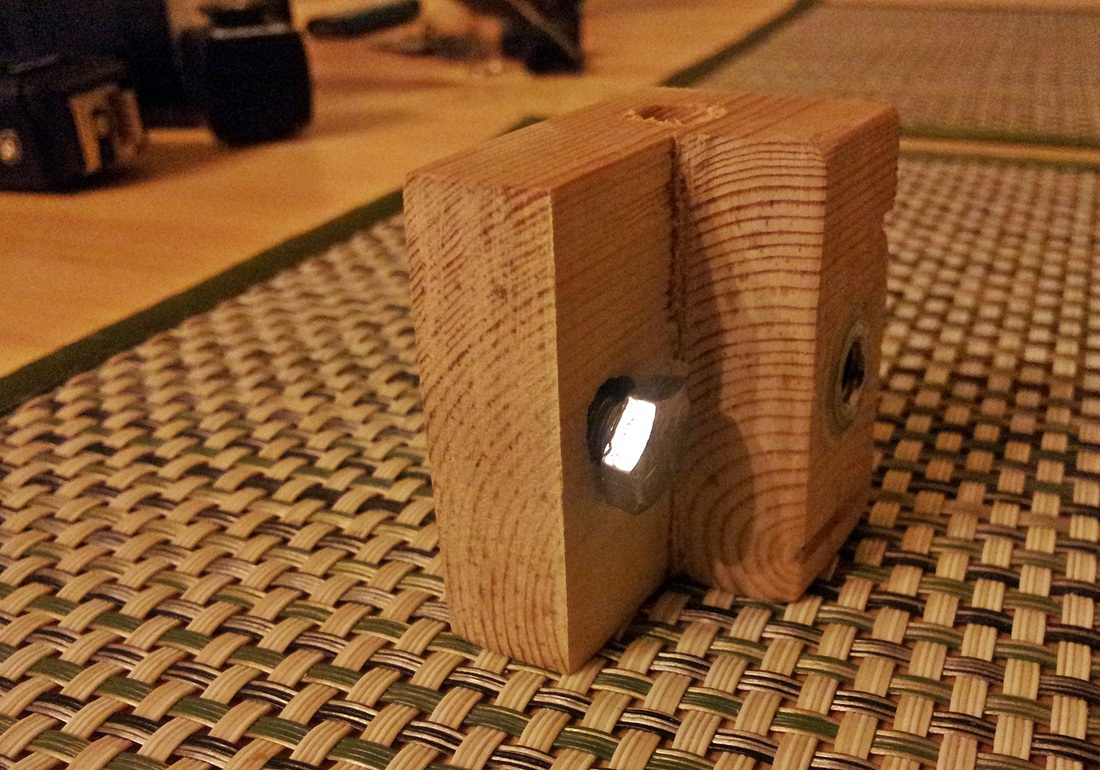
The nut is placed. Note that the glue pictured above is not the one you should use. I tried it but it failed. The only one I know of that keeps wood and metal together is 2 part epoxy glue.
_____________________________________ 
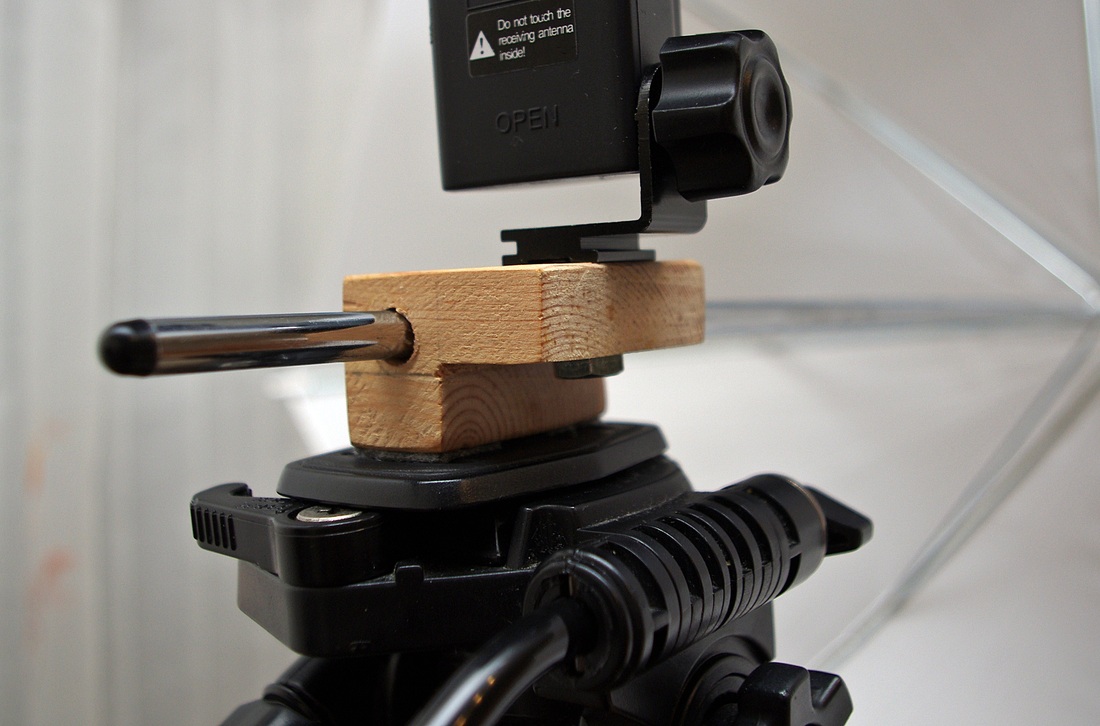
And top view. This bolt will be used to mount my flash gun: it will be screwed to the bottom of my optical salve or radio trigger (on top of which sits my flash)
_____________________________________ 
|
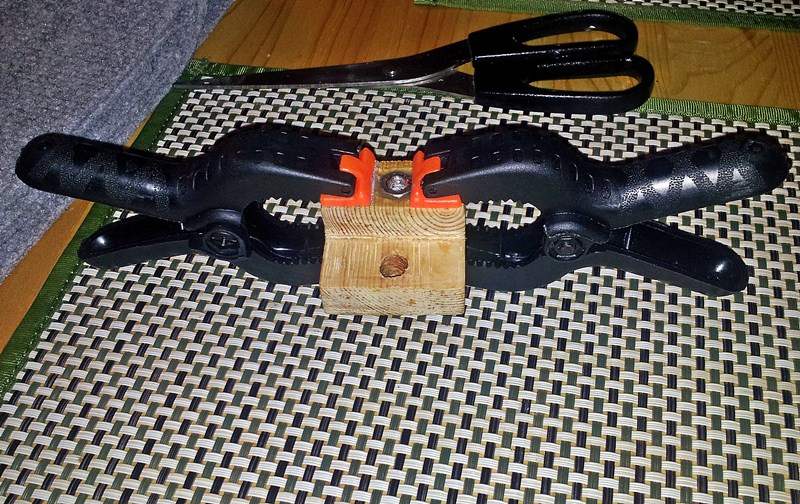
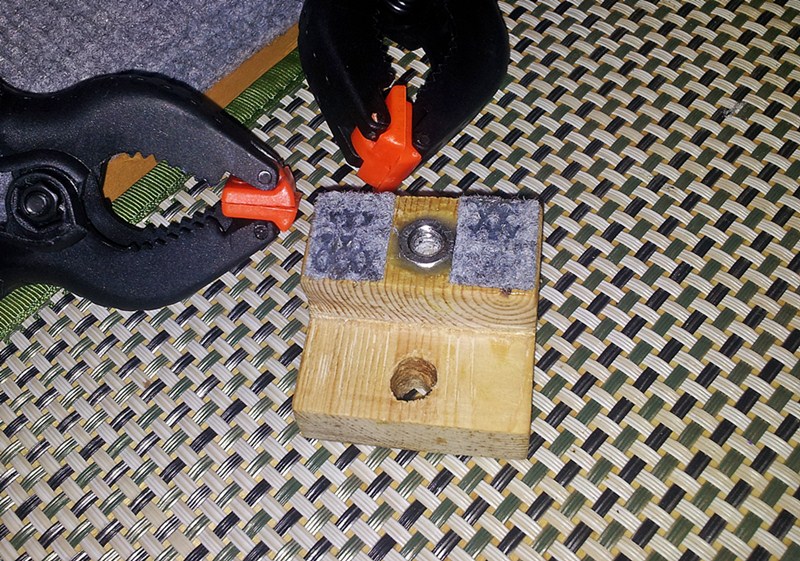
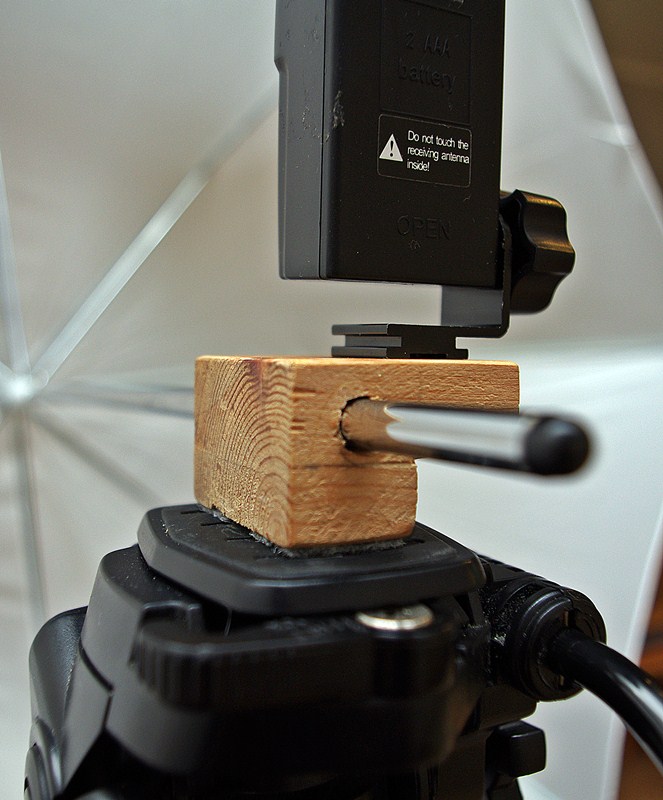
When the glue dried out after three days and tried the holder on my tripod but the wood was a bit "slippery" so I decided to add some felt at the bottom so it held securely in place. It was also glued.
_______________________________________________________________________________
_______________________________________________________________________________
|
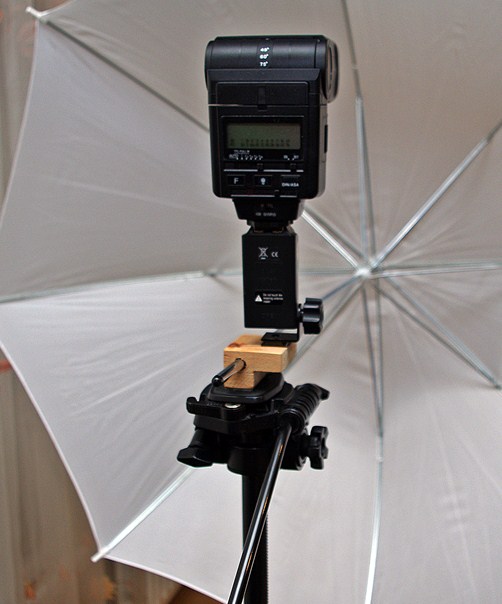
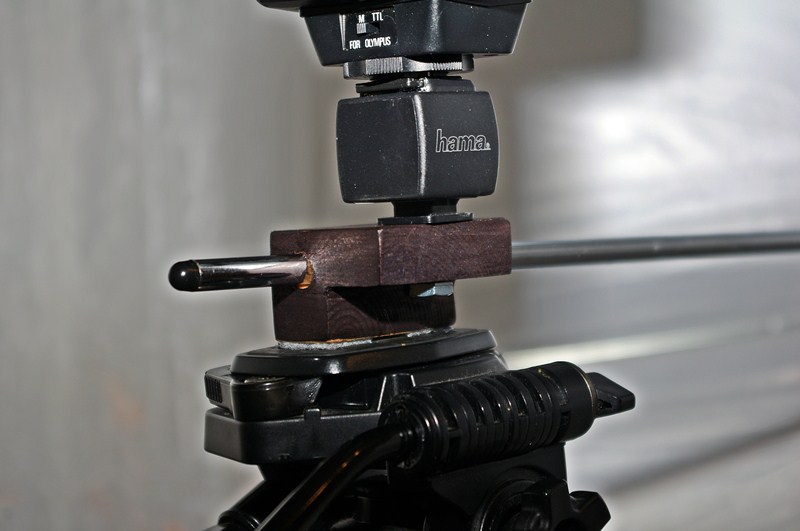
And voilá ! Flash and photo umbrella holder placed on a tripod with all gear prepared for shoots :-) |
|
|
|
|
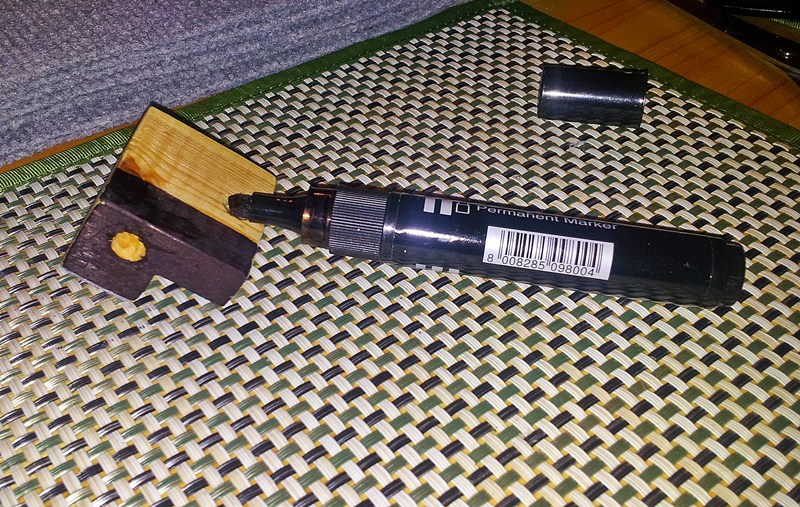
Although the holder worked as hoped it would (I meant to say: as expected) I thought I looked a wee bit too "woody" so I gave it makeover by using a black marker. 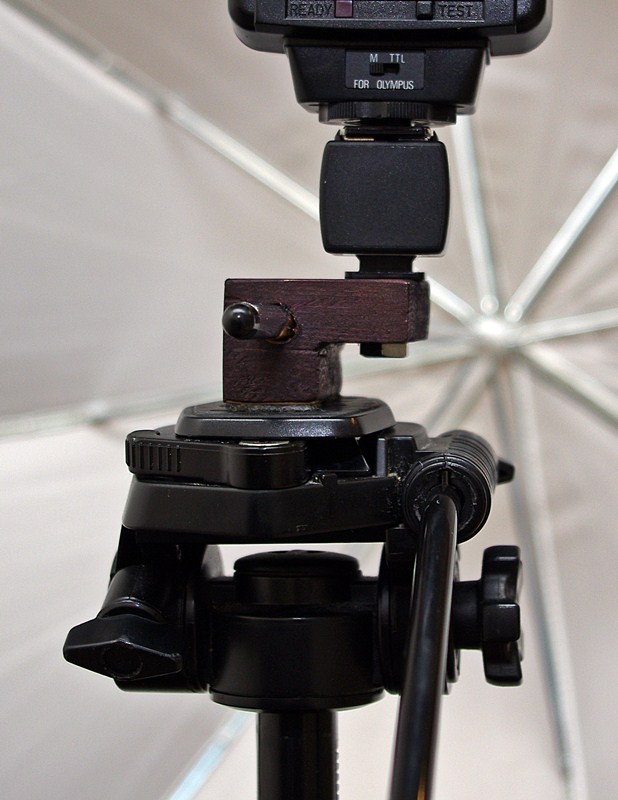
|
|
One more thing is worth adding here: the hole that I put my umbrella through is snug enough to allow me tilting the tripod back and forth without the umbrella slipping out. When I was preparing for this I expected I would need to think of some device that would keep the umbrella in place. What I had in mind was i.e. two rubber gaskets (from a tap or something similar) that would be placed on both ends of the holder or, even easier, I could use an office jumbo paper clamp to prevent the umbrella from falling out. It worked out that I didn't need anything like it so I must admit that I'm quite happy with the outcome.
I hope you, like me, enjoy DIY photography and found reading about this flash and umbrella holder worth your while.
And here you can find a few sources where you can read about similar projects:
http://www.flickr.com/photos/backhousestudios/430010340/
http://www.flickr.com/photos/bupsss/3277839855/in/photostream/
http://www.flickriver.com/photos/shadowgolem/4562262160/
http://www.diyphotography.net/soup-from-stone-or-umbrella-holder-from-bed-wheel
© Copyright Photography on a budget 2011-2012 - All Rights Reserved
